Making wine might seem like a complicated process better left for the experts, but it’s actually pretty easy. Making your own Wine is a fun hobby to get into to impress your friends and after a while save you some money.
Wine making is a tradition passed down thousand of years. Being perfected every step of the way. The process, however, is an easy one. The science behind it is simple enough. A fruity sugary liquid is made and yeast added. The yeast eats the sugars and makes alcohol and carbon dioxide as byproducts.
I would reccomend buying a 5 gallon wine making kit off of the internet. They usually include a fermenter, a hydrometer, an airlock, a wine corker and other essential equipment for wine making. Brew stores are becoming a common place now, so you could find one near you and get even more advice on the process and what to get there.
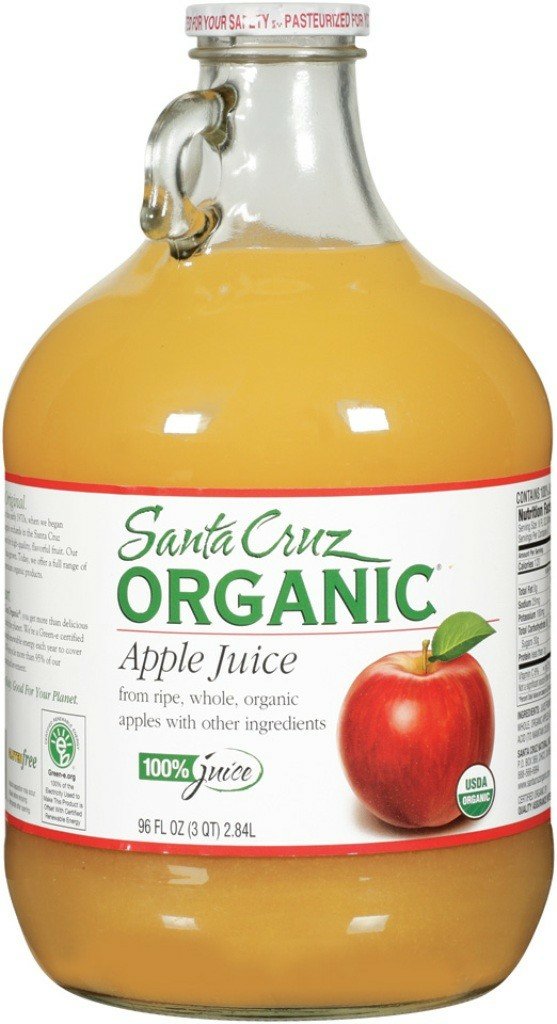
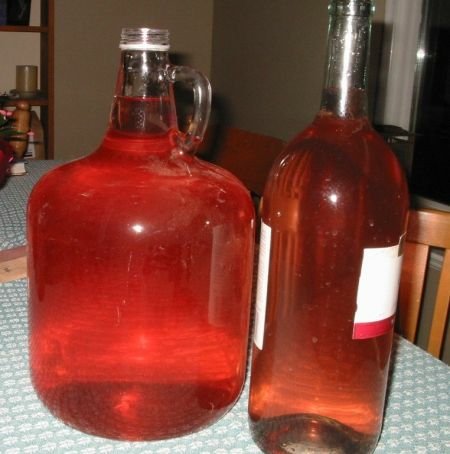
First off, you’ll have to determine the wine you’ll want to make. I would actually reccomend buying grape juice from your homebrew store, or buy a different kind of juice at the store. Any fruit, or juice, can be fermented usually. If you’re going to buy juice at the store however make sure it comes with no preservatives. Just the juice and vitamin c are okay. Any preservatives can kill the yeast. Right now I have apple wine going. I found some nice apple cider from an orchard nearby and I’m making apple wine.
 Once you determime the flavor of wine you’ll be fermenting you need to add sugar to increase what’s called the gravity. The gravity is the density of sugar in your wine. The hydrometer that comes with your wine kit is the tool you’ll need. Fill up the test tube and place the hydrometer in it. It’ll have numbers down the side like 1.100, 1.050 and so on. The gravity will determine a few things. It’ll determine the alcohol potential of your wine. For example a liquid with a starting gravity of 1.050 could ferment to 6.5%. You can add more sugar to get a higher ABV. You’ll also want to take into account how sweet you want your wine.
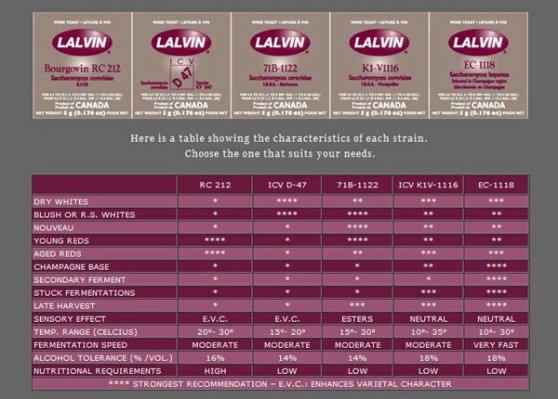
The yeast is a living microorganism. It’s goal is to eat all the sugars it can until the alcohol level is high enough that the yeast is killed. Yeast comes in many strains. I when making wine use lavlin wine yeasts, because it’s easy and there are many charts on which strain to use for what. If you have a wine with a 12% ABC potential, but your yeasts tolerance is 14% than you’ll have a totally dry wine. If you have a wine with a 16% ABV potential and the same yeast you’ll be left with a sweet wine. You just need to determine what kind of wine you want and edit the sugar levels from there.
Once you have your sugary juice to the sweetness you want according to the hydrometer dump it into your fermenter. Now you’ll want to vigorously shake the fermenter to incorporate all the oxygen you can, this will help in the first few hours of fermentation when the yeast is rapidly reproducing.
This you’ll want to place in a warm place, the yeast packet will tell you what range is best for it. Once your wine is around that tempature pitch your yeast, just sprinkle it on top. Now put in the airlock and let sit. The airlock is a small device that lets the carbon dioxide escape, bit doesn’t allow air in. You’ll see carbon dioxide bubbles within a few days or hours passing through it.
Now every step along the way you’ll want to make sure that everything is clean and sterile. I use starsan that comes with a lot of kits. It’s a sanitizer made for brewing that you don’t need to rinse off. Sanitation is big when making your own alcohol. You want to avoid bacteria that can make your wine sour or into vinegar.
I usually let my wines ait for about 2 months in 5 gallon increments. This gives it enough time to ferment and the yeast to clean up after itself. It’ll mellow out in this time as well, young wine is incredibly sharp.
Now take another gravity reading and this is your final gravity. Go on Google and look up an ABV calculator and enter both numbers into the box and it’ll tell you what your ABV is. I find 14% to be a nice number for most wines.
At this point pool at your wine to make sure it’s clear. If it’s still cloudy let it sit longer and clear or buy some fining agent to clear it much quicker. Then it’s good to bottle. When bottling make sure to avoid the bottom one inch of your fermenter. This is where your yeast cake will be and you don’t want any of that making it’s way into your bottles. It can cloud it up, but it’s not dangerous.
Once I’ve bottled it I let it sit for another month and drink. It’s really easy, especially once you’ve done it once. Don’t be afraid to make some mistakes along the way it happens.
For more patient people I reccomend making a batch of mead. Mead is honey wine. Just dissolve honey into warm water until it’s the proper gravity for what you want and add your yeast in the same way. I say this requires patience, because you need to let this sit for a year. It’s like jet fuel for a long time then by the year mark it’s a golden delisuous beverage.

Fermenting your own Wine is a really fun project. It’s easy especially after your first time and you can make 5 gallons of wine for a significantly cheaper margin than buying at the store. This is after you’ve bought your equipment. You have complete control over flavors and preference. You get to make wine the way you like it and you get the knowledge of the science of fermentation.
I reccomend anyone give this a try. If anyone has any questions let me know, or if you’d like a more detailed look on any steps or equipment.


I am pondering cider vinegar.
LikeLike